Introduction
PS/2 Encoder interfaces industry standard PS/2 PC-compatible keyboards to devices requiring TTL-level RS232, parallel data , and/or PC XT signaling. All ASCII key sequences are decoded, as well as common keyboard sequences like “CTRL-ALT-DEL”. To provide maximum flexibility for various uses while retaining ease of operation, the unit’s configuration can be modified in-circuit using the PS/2 keyboard itself.
Options
The PS/2 Encoder can be purchased as a bare PCB, minimal kit (PCB, uC only), full kit with DIP 24 pin header, full kit with 2×12 IDC header, or assembled with either type of connector.
Requirements
- A PS/2 compatible keyboard (USB keyboards with PS/2 converters may not work) with a Mini-DIN6 plug.
- Regulated 5VDC Power source.
- For RS232 operation, a TTL to RS232 level converter.
Purchase
PS/2 Encoder models can be purchased at the RETRO Innovations Online Store.
Image Gallery
Technical Details
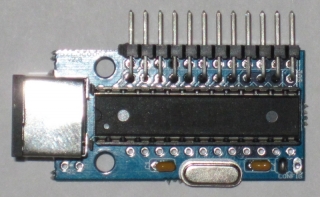
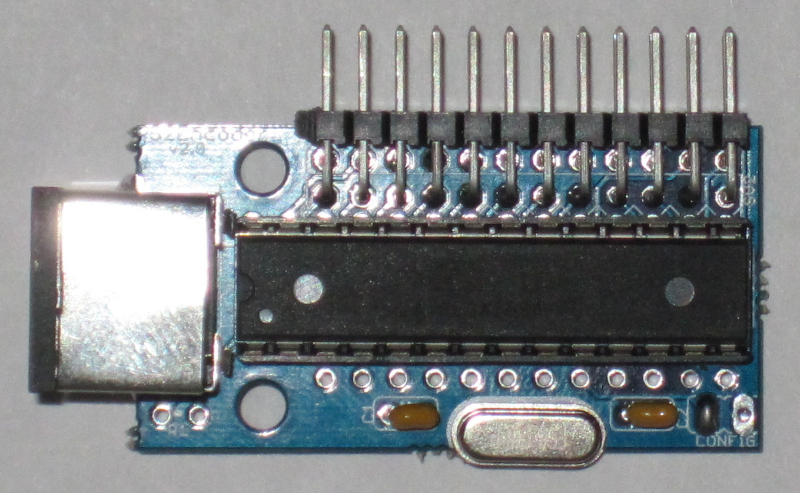
PS/2 Encoder consists of an Atmel ATMEGA168 AVR microcontroller and associated connectors. The GPLv2-licensed C firmware reads data from a PS/2 compliant keyboard, converting PS/2 scan codes into ASCII values that are presented via an 8-bit parallel and 5V RS232 connections and converting scancodes to XT compatible keyboard scan codes. The PCB features include:
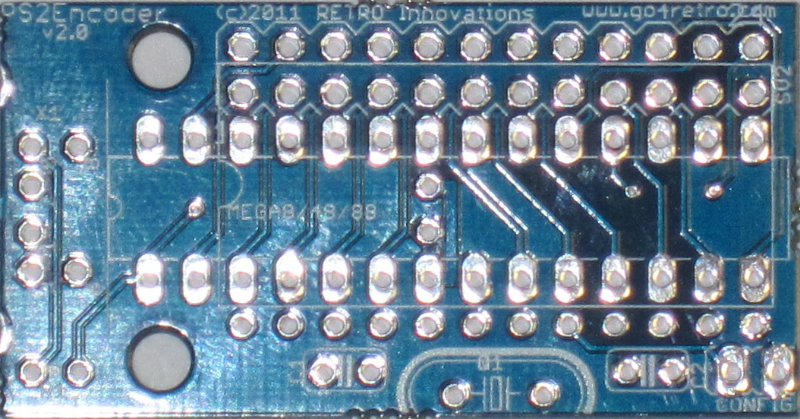
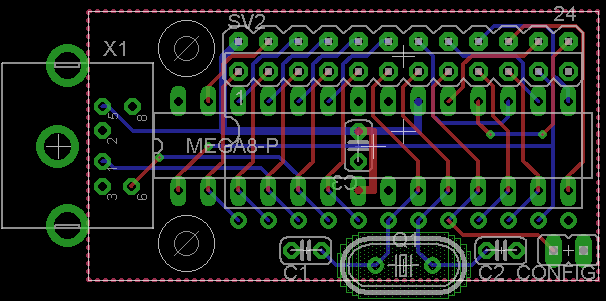
- Supports 24 pin .6″ IC socket connection as well as 2×12 header connection.
- Crystal footprint included on PCB
- PS/2 connector footprint included on PCB
- Through hole design makes “do-it-yourself” construction easy.
Support
Bill of Materials
| Part | Description |
|---|---|
| X1 | Mini-DIN6 PS/2 Connector |
| R1 | 10K 1/8W resistor |
| IC1 | Atmel ATMEGA48/88/168/328 uC |
| C1,C2 | 18pF ceramic capacitor |
| C3 | .1uF ceramic capacitor |
| Q1 | 8MHz crystal |
| SV1 | DIP24 IC header |
| SV2 | 2×12 breakaway header |
| CONFIG | 1×2 .1″ breakaway header |
Assembly Details
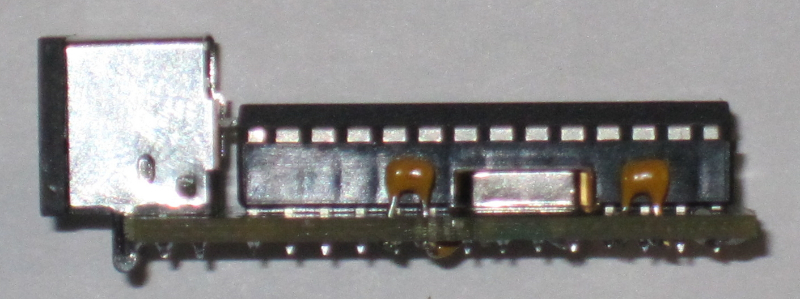
- Populate and trim C1,C2,C3 (install C3 from the bottom of the board)
- Populate and trip R1
- Populate IC1 with socket if desired
- Populate and trim Q1
- If SV1 desired, populate on bottom of PCB
- If SV2 desired, populate from top of PCB
- Populate X1
- (Optional) populate CONFIG or simply solder pads
Pinout
| IC pin | IDC pin | Description |
|---|---|---|
| 1 | 1 | RS232 Receive |
| 2 | 3 | RS232 Send |
| 3 | 5 | PS/2 Clock |
| 4 | 7 | PS/2 Data |
| 5 | 9 | /AUX |
| 6 | 11 | B2 |
| 7 | 13 | B3 |
| 8 | 15 | /CONFIG |
| 9 | 17 | /INTERRUPT |
| 10 | 19 | PARALLEL STROBE |
| 11 | 21 | /RESET |
| 12 | 23 | GROUND |
| 13 | 24 | XT Data |
| 14 | 22 | XT Clock |
| 15 | 20 | DATA0 |
| 16 | 18 | DATA1 |
| 17 | 16 | DATA2 |
| 18 | 14 | DATA3 |
| 19 | 12 | DATA4 |
| 20 | 10 | DATA5 |
| 21 | 8 | DATA6 |
| 22 | 6 | DATA7 |
| 23 | 4 | C0 |
| 24 | 2 | VCC |
Operation
- Connect VCC to regulated +5VDC
- Connect GROUND to appropriate ground line.
- Data connection
- For parallel operation, connect D0-7 and STROBE to appropriate parallel keyboard input lines.
- For serial operation, connect keyboard 5V SND line to PS/2 Encoder RS232 Receive pin, and keyboard 5V RCV line to PS/2 Encoder RS232 Send pin.
- For XT operation, connect XT Clock and Data to appropriate pins on DIN5 plug, adding Vcc and GND to the plug as well.
- If desired, /INTERRUPT can be connected to active low wired-or IRQ line on target system.
- Apply power to system
Configuration
Configuration mode can only be accessed when the CONFIG jumper is present (or the pins are otherwise connected). To enter configuration mode, hold CTRL and ALT and press the Backspace key on the keyboard. Once in configuration mode, only certain keys will respond to keypresses:
| Key | Description |
|---|---|
| Shift + ENTER | ENTER will send CRLF via Parallel and RS232 |
| & | Set RS232 to 7-bit data length |
| * | Set RS232 to 8-bit data length |
| T | Increase inter-character delay |
| R | Increase keyboard typematic rate |
| D | Increase keyboard typematic delay |
| P | Increase STROBE length |
| S | Increase oscillator speed (on units without crystal) |
| ENTER | ENTER will send CR only via Parallel and RS232 |
| t | Decrease inter-character delay |
| r | Decrease keyboard typematic rate |
| d | Decrease keyboard typematic delay |
| s | Decrease oscillator speed (on units without crystal) |
| l | Set STROBE as active-low |
| h | Set STROBE as active-high |
| 0 | Set RS232 to 110bps |
| 1 | Set RS232 to 300bps |
| 2 | Set RS232 to 600bps |
| 3 | Set RS232 to 1200bps |
| 4 | Set RS232 to 2400bps |
| 5 | Set RS232 to 4800bps |
| 6 | Set RS232 to 9600bps |
| 7 | Set RS232 to 19200bps |
| 8 | Set RS232 to 38400bps |
| 9 | Set RS232 to 57600bps |
| o | Set RS232 to ODD parity |
| e | Set RS232 to EVEN parity |
| n | Set RS232 to NONE parity |
| Backspace | BS sends Backspace via Parallel and RS232 |
| Delete | Backspace sends Delete via Parallel and RS232 |
| P | Decrease STROBE length |
| q | Print current configuration |
| w | Save current configuration |
Once the desired configuration is set, pressing ‘w’ will save the settings, and CTRL+ALT+BS will exit configuration mode and apply the new settings. If configuration mode is exited without saving, settings will last only until power is removed.
Project Files
Source code, EAGLE v7+ schematics, and EAGLE v7+ PCB files are available at the GitHub repository.
Planned Enhancements
- Add functionality for B2B3,C0,and AUX pins
- Add support for various escape sequences
